Administrator, user, and project settings.
Set up projects and project members
This article explains how to set up a project in your Repsona space and add members to it.
| Who can use it | Available on |
|---|---|
| Owner, Admin | All |
Set up projects and project members
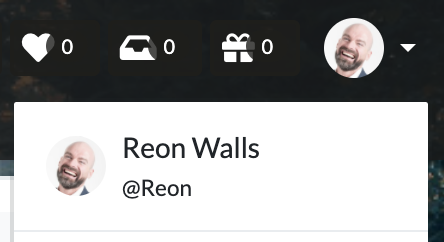
- Open the settings menu from the icon in the upper-right corner of the screen.
- Click "Administrator Settings".
- Open the "Projects" tab.
Create a project
You can create a project with the + button.
On the Free plan, you can create only one project.
Set the project’s official name, project name, and initial members, then click "Create".
Configure a project
Click the "Settings" link to the right of the project name to open project settings. You can also open the same screen from the settings button in the project menu.
Set project members
From the "Add member" dropdown under the project name, select and add a member. To remove a member, click the cross button at the upper right of their name.
Close the project
Click "Close" to close (complete) the project. Closed projects are excluded from the "Select a project" list.
Reopen the project
To reopen a closed project, turn on the "Show closed" switch at the top of the screen and click the "Re-open" button for the project.